How To Square A Room For Tile Layout Using The 3-4-5 Method (& Common Mistakes To Avoid)
Imaging spending a day tiling your kitchen floor in back-breaking labor. As you finally get up and wipe sweat off your brow, you feel shivers rushing up your spine because you notice that the tile pattern does not align with the room's walls. If this type of DIYer misadventure ever befalls you, there isn't much you can do apart from ripping all the tiles out or learning to live with the skewed design. To avert this disaster from occurring in the first place, you need to ensure that the tiles will make a square before you lay them.
Now, lining up tiles may seem like a difficult task. They can be small, there are many of them, and you can't tell how the design looks in congruence to the walls until it's complete. Fortunately, you don't need fancy equipment to make sure that the very first tile you put down — and all the ones that follow — make a perfect square in relation to the room. All you need is the 3-4-5 method, a tile floor installation technique based on the fact that a triangle with a side length ratio of 3:4:5 is a right triangle. This hands-on calculation will leave you with two perpendicular lines on the floor, and you can safely lay tiles along these lines without fear of misaligning your design.
How to use the 3-4-5 method

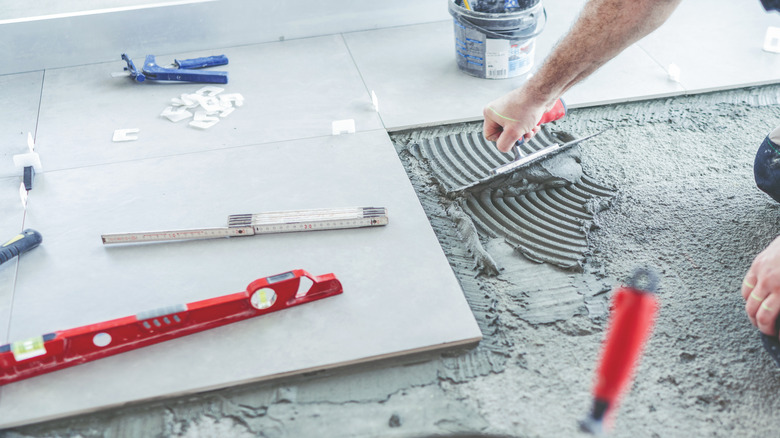
Before you get to work with the 3-4-5 method, you'll need to assemble a few key items. To make the length and angle calculations, you'll need a tape measure and a framing square, respectively. Simple old chalk or masking tape will do for making marks on the floor. However, to make your life easier and your lines more accurate, you can opt for a chalk reel, like this one from Home Depot.
With your tools assembled, mark a reference line in the middle of the room. To create the line, find the middle points on two opposing walls, and identify these points with chalk. Then, snap a chalk line crossing the room from one of the points to the next. Once the line is visible on the flooring surface, find its center and mark it with chalk. This will be your reference point "C". From this point, measure 4 feet along the chalk line and mark this spot — we'll call this point "E." Now, pull your measuring tape out to 5 feet, and make a straight line between point E and wherever the 5-foot mark lands on either side of point C. Mark this new spot on the floor — this is point D. You should now have the three points make a triangle. Finally, measure the distance between points C and D — if it's exactly 3 feet, then use C and D as your reference points to make a second chalk line. It will be perfectly perpendicular to the first chalk line you snapped!
Don't overlook the condition of the subfloor when using the 3-4-5 method

Some DIYers will overlook the conditions of the subflooring when they perform the 3-4-5 calculation. This critical mistake essentially voids the calculation, since irregularities in the surface will skew the linear measurements you just made. What's worse, laying tile on an uneven surface is just bad practice that leads to tile lippage — an unattractive and dangerous condition in which adjacent tile edges are not horizontally aligned. Not only do projecting tile edges look unprofessional, but they pose a stubbing hazard for your toes whenever you walk on the floor. Moreover, fixing lipped tiles is not an easy task once they're installed.
To ensure the accuracy of the reference lines and prevent tile lippage, you should make the flooring surface level before performing the 3-4-5 calculation or laying the tile. Applying self-leveling compound to the substrate gives you an easy way to even out the floor surface. The compound is a fluid cementitious mix that fills in all the low-lying areas of an uneven floor to create a perfectly level, smooth surface. This type of compound cures quickly, so applying it should not delay your tiling project for too long. Once you've poured and distributed the mix throughout the floor area with a trowel, you can proceed with the 3-4-5 calculation knowing that the lines will be accurate and the tiles won't protrude.