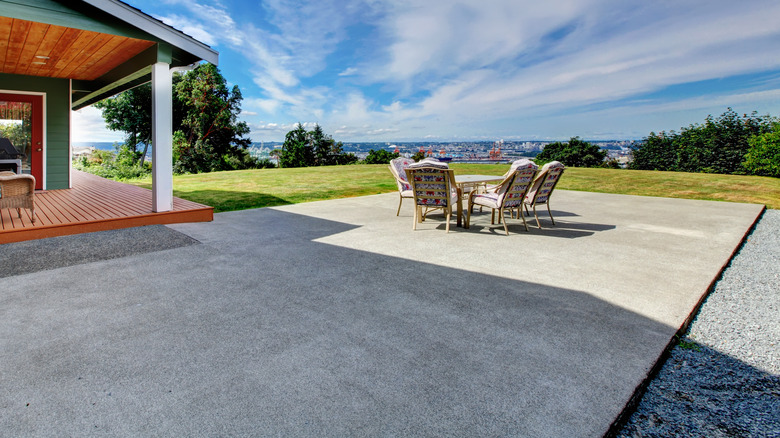
Make A Basic Concrete Patio Look Stunning On A Budget With This Creative Paint DIY
So, you've got this basic concrete patio. It's solid and does the job. But let's face it, it's kind of drab. However, you're not about to drop a ton of cash on giving it a facelift — the good news is, you can skip that hassle. Grab some concrete paint along with a few budget-friendly extras, and you're all set to instantly elevate your concrete patio from meh to wow without breaking the bank. First, a good scrubbing is in order. And if your patio has seen better days, a bit of patching might be necessary. Next, slap on quality primer and a few layers of concrete paint.
Picking out your paint is where the fun starts. Let's say you're into something a bit understated. Then muted shades are a great choice. However, keep in mind the paint colors to avoid when painting your patio concrete: you might not want to go too dark or bright. For a durable finish, you can hardly go wrong with epoxy-based or masonry paint.
Thinking about quantities? One gallon has you covered for up to 400 square feet, so plan accordingly. And cost-wise? Take Valspar Light Gray Satin Interior/Exterior Porch and Floor Paint, for instance — it's good for 300 to 400 square feet and runs for $37.98 a gallon at Lowe's. Primers usually go a bit less far, up to 300 square feet per gallon. Add to that some extras like masking tape, a roller tray, and a paint roller, and you're probably looking at spending around 100 bucks on your patio revamp.
How to make your plain concrete patio look better with paint

The quest to elevate your concrete patio with paint kicks off with clearing the space. Move those leafy friends in pots, shuffle the furniture aside, and sweep off dirt and leaves. Next, bring on a pressure washer and blast through the gunk clinging to the concrete. Plus, with household bleach in hand, stubborn mold and mildew hardly stand a chance. Then there are those greasy spots. For these, summon a degreasing agent like the Purple Power Degreaser, going for $6.97 at Walmart. Caught some cracks on your concrete floor? A masonry concrete crack filler is all you need to smooth things over.
Once your patio is squeaky clean, dry, and repaired, you're all set for the next step. Now, for the areas you don't want fresh paint to reach, masking tape will be your friend. And let's not skip the primer — it ensures your paint sticks around for the long haul. Something like KILZ Klear Primer, which costs about $24 a gallon at Walmart, will do the trick nicely. Once you've laid down the primer and let it dry for about 30 minutes, it's time to bring your patio to life with your chosen concrete paint. Roll it on evenly, let it dry for at least four hours, then go in for the last round. Seal the deal with a clear sealant on top to keep your patio paint looking fresh through whatever the weather throws at it.
Considerations for this patio DIY

Hate the thought of wrestling with a primer before you even get to the main event? Dive straight into your project with self-priming concrete paint. This genius invention is essentially a twofer — both your primer and paint in one and packs a bit more punch thickness-wise. An example would be the Rust-Oleum Concrete & Garage Foor Paint + Primer available at The Home Depot. Now, while you're envisioning your DIY patio makeover, pause and consider how this fresh hue will play with the rest of your outdoor decor. You wouldn't want your aesthetics to clash, after all. And why stick to one color when painting stripes could add another level of interest?
If you're working with new concrete, it's likely covered in curing compounds that need to be cleared off with a chemical stripper or floor grinder. In addition, do yourself a favor and keep an eye on the weather. Unexpected precipiation can rain on your parade by damaging wet paint. Equally, painting in extreme heat or cold can wreak havoc on drying times. For any tricky spots, swapping your roller for a paintbrush will make your job easier. Taking a breather? Keep your rollers and brushes from becoming unusable by wrapping them up tight in plastic wrap or a ziplock bag — it's all about locking in moisture and keeping the air out. If you're worried about your floor turning into a "slip 'n slide" when wet, consider mixing in some non-slip additive to your paint.